Johdanto
Fiber laser cutting technology has revolutionized the metal fabrication industry, offering precision, speed, and efficiency. For hobbyists and small-scale manufacturers, building a DIY fiber laser cutting head can be an exciting and cost-effective project. At Roclaser, we specialize in high-performance fiber laser cutting machines and components, making us the perfect partner for your DIY laser cutting journey.
In this guide, we’ll explore the key components of a fiber laser cutting head, how to assemble one yourself, and why choosing Roclaser’s premium parts ensures optimal performance.

---
Key Components of a DIY Fiber Laser Cutting Head
A fiber laser cutting head consists of several critical parts that work together to deliver precise cuts. Here’s what you’ll need
1. Fiber Laser Source – The heart of the system, generating the laser beam. Roclaser offers high-quality fiber laser modules with adjustable power for different material thicknesses.
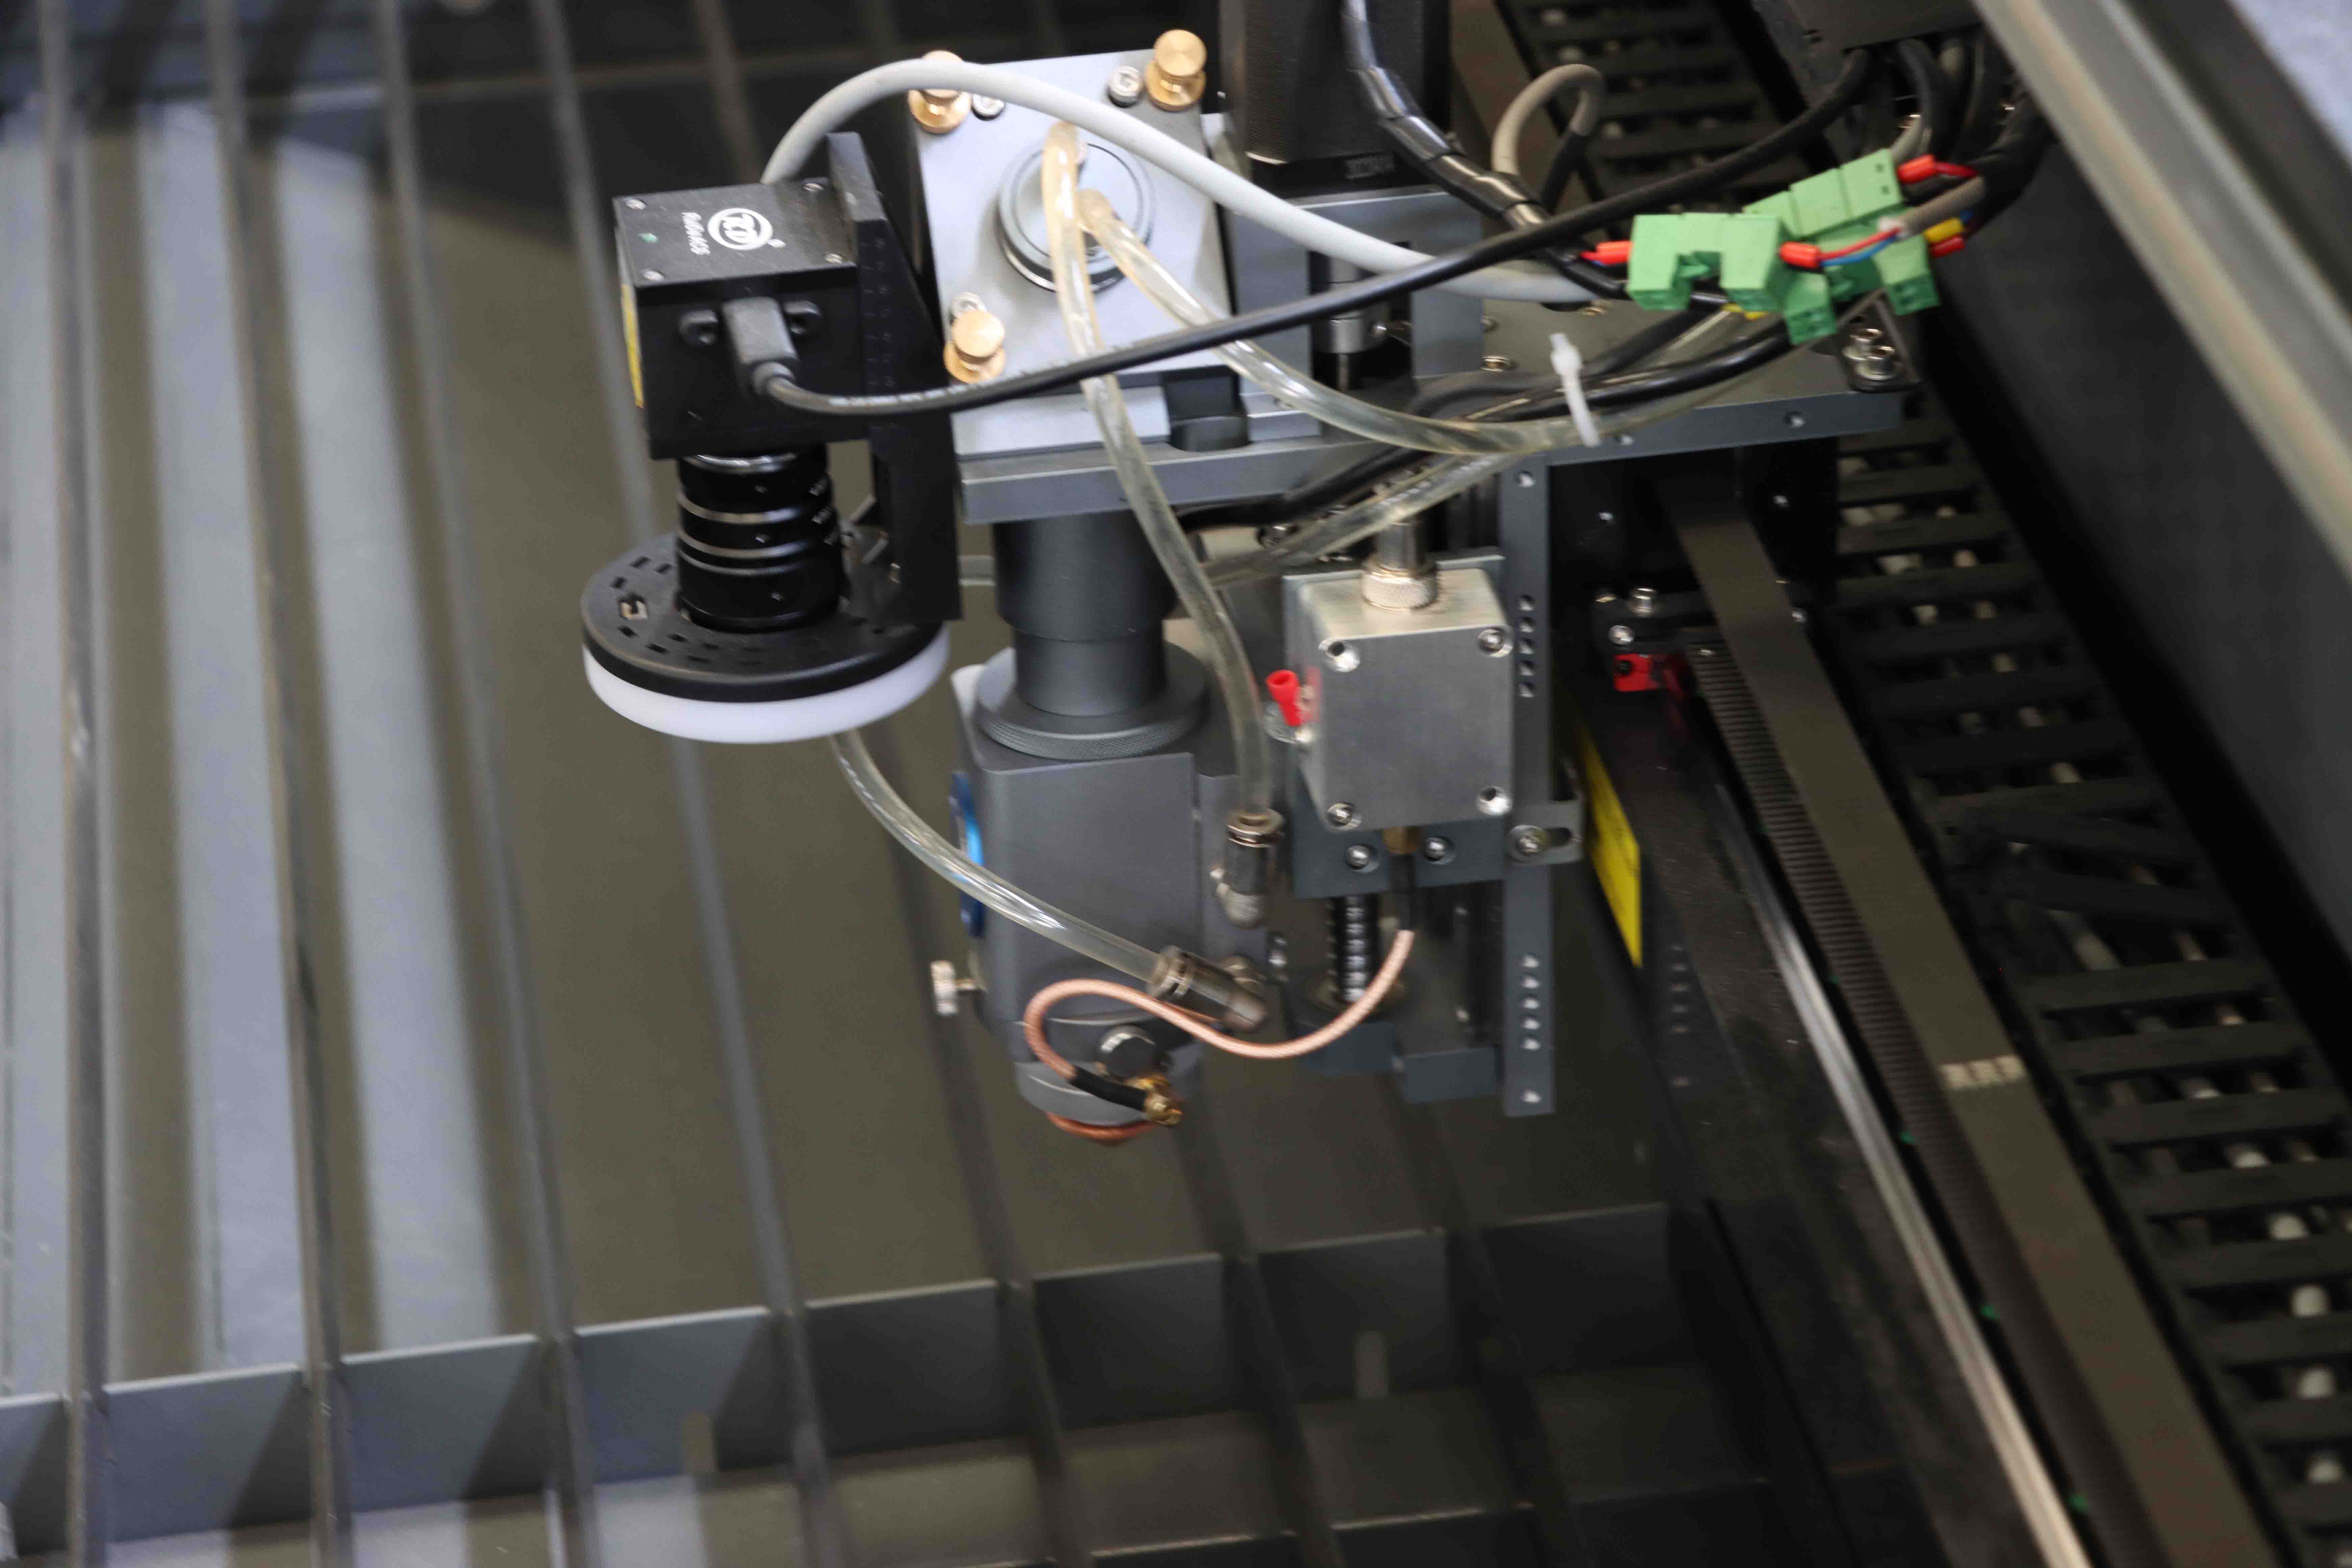
2. Collimating Lens – Expands and straightens the laser beam for better focus.
3. Focusing Lens – Concentrates the laser beam onto the material for clean cuts.
4. Nozzle – Directs assist gas (such as nitrogen or oxygen) to enhance cutting efficiency and reduce slag.
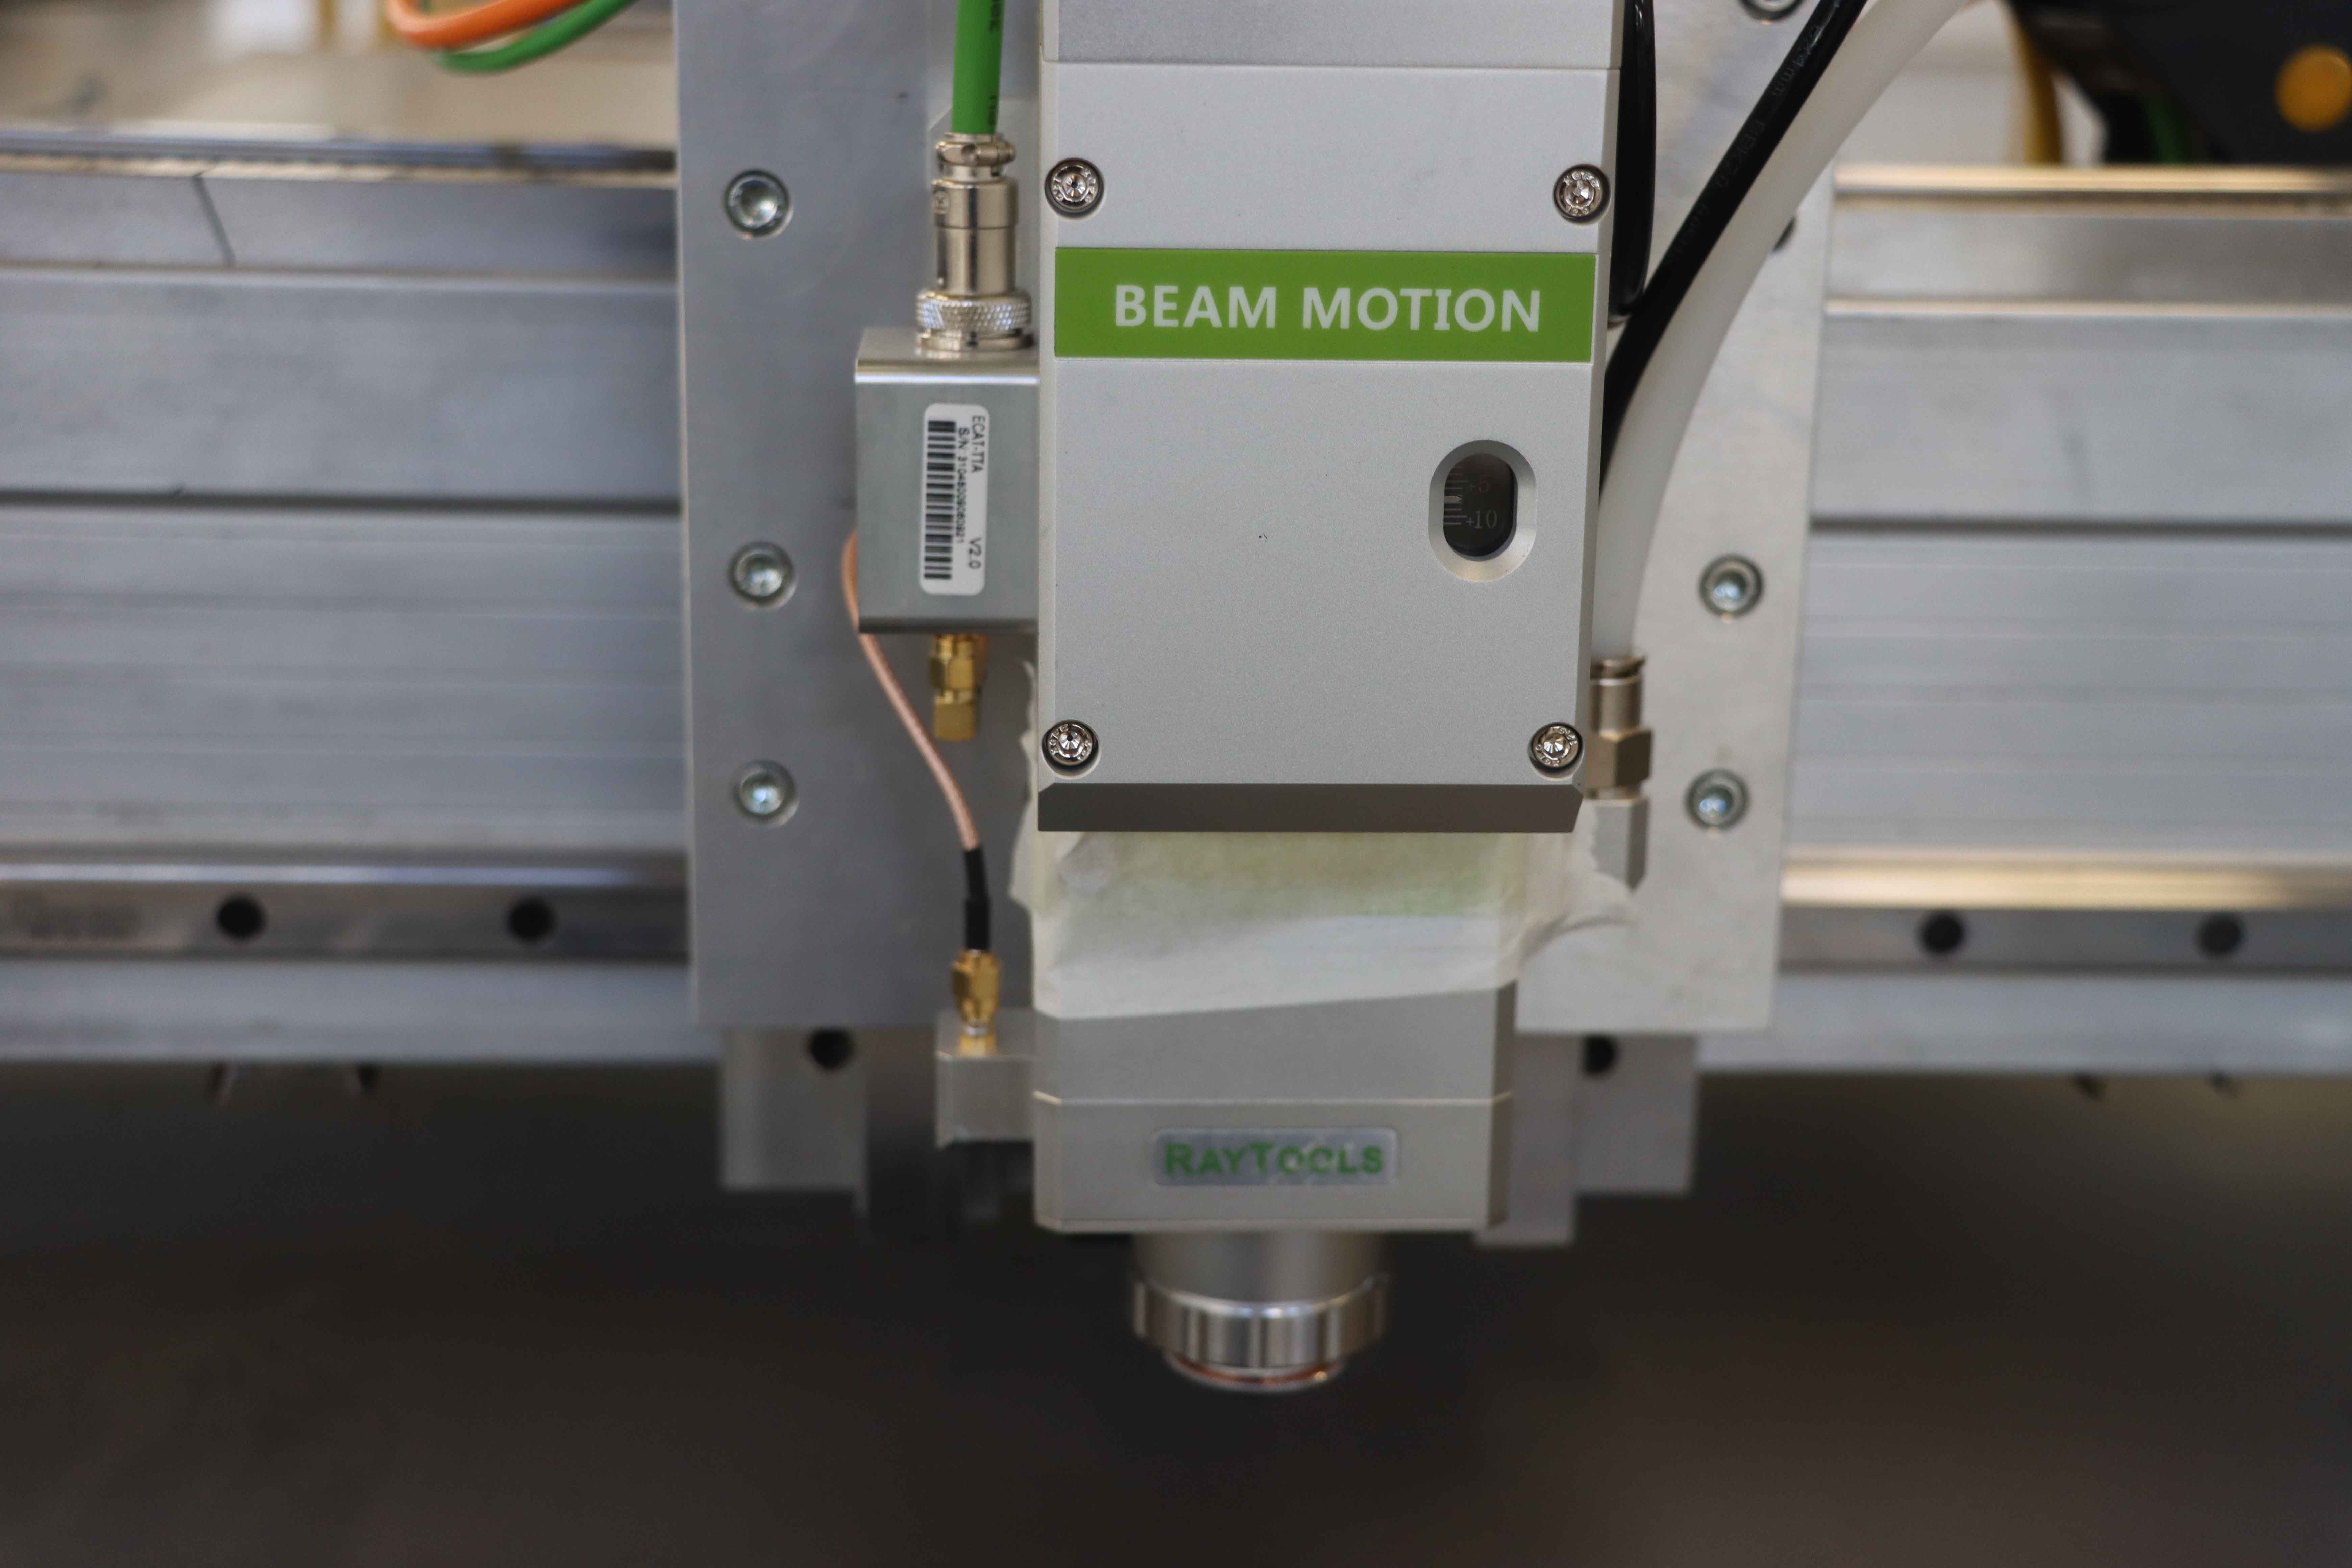
5. Cutting Head Body – Houses the optical components and ensures stability.
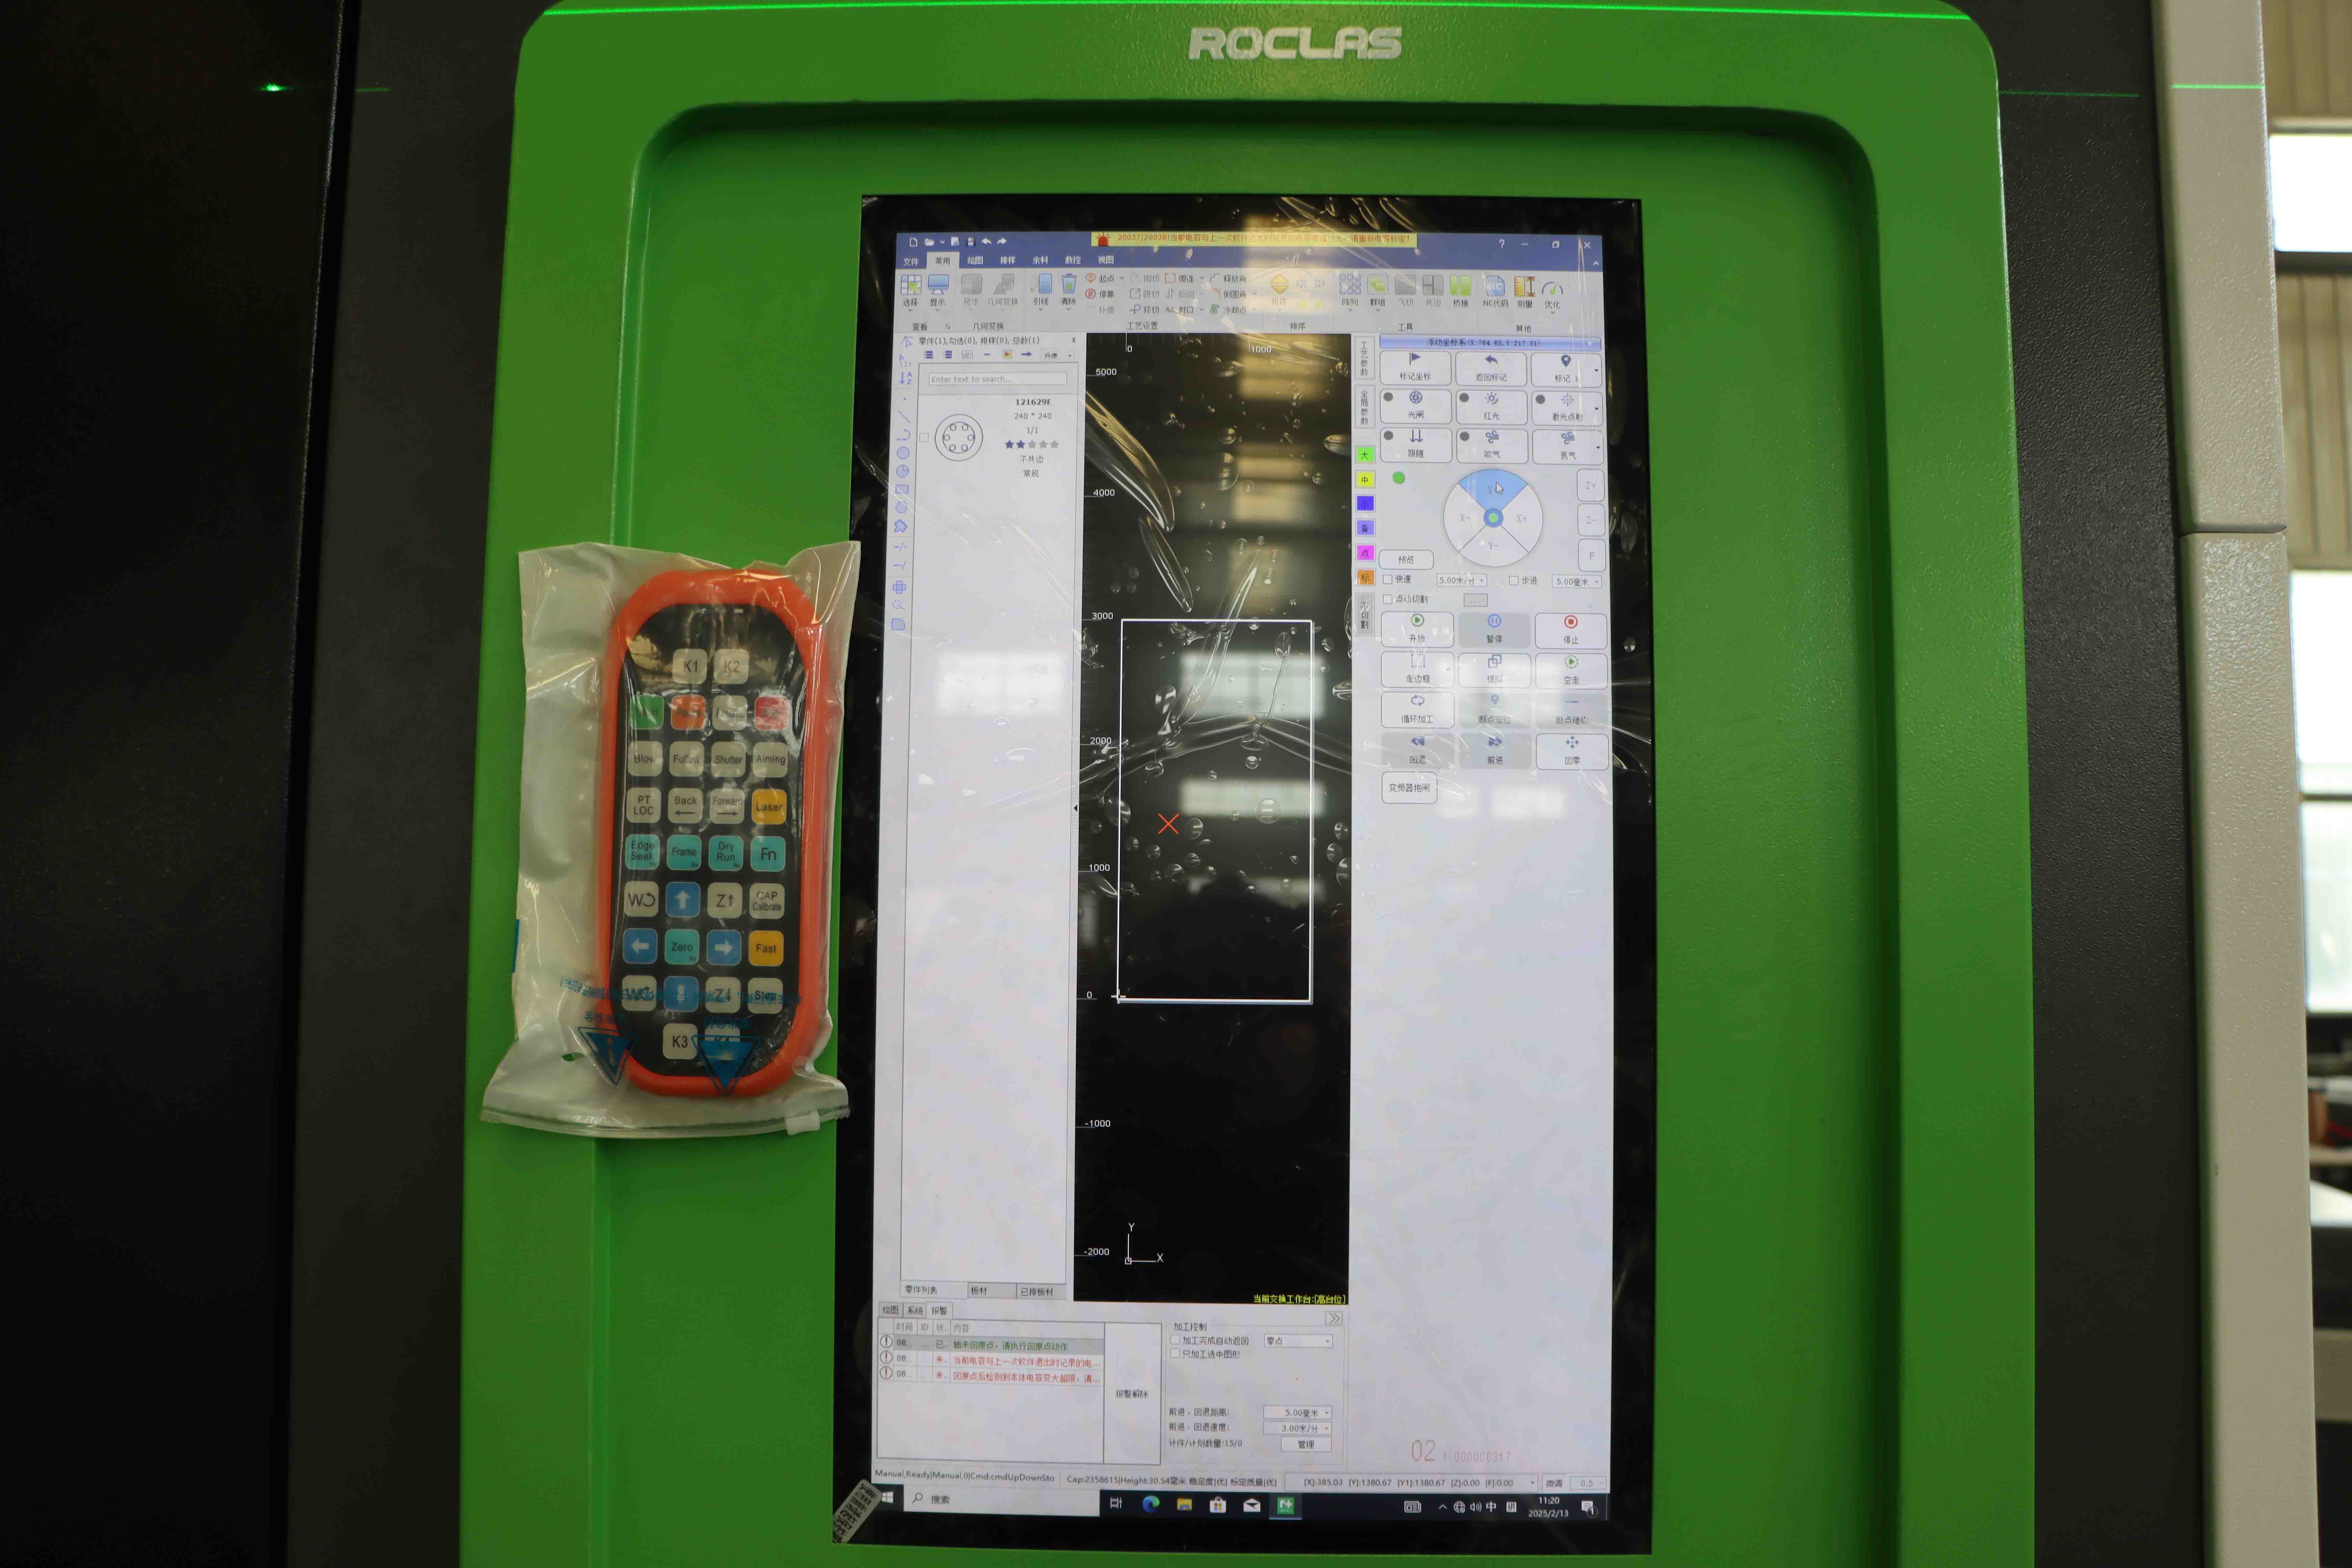
6. Motion Control System – A CNC controller (like Roclaser’s user-friendly CNC systems) guides the laser head for accurate movement.
---
Step-by-Step Assembly Guide
Building your own DIY fiber laser cutting head requires careful assembly. Follow these steps
Step 1 Secure the Laser Source
Mount the fiber laser module securely to a stable frame. Ensure proper cooling (air or water) to prevent overheating.
Step 2 Install the Collimating Lens
Align the collimating lens to expand the laser beam uniformly. Misalignment can cause power loss or uneven cuts.
Step 3 Add the Focusing Lens
Position the focusing lens to concentrate the laser beam to a fine point. The focal length determines cutting depth—Roclaser’s adjustable lenses provide flexibility.
Step 4 Attach the Nozzle
Choose a nozzle size based on material thickness. A 0.8mm to 2.0mm nozzle works well for thin to medium metals.
Step 5 Connect the CNC System
Integrate the cutting head with a CNC motion controller for automated precision. Roclaser’s plug-and-play CNC kits simplify this process.
Step 6 Test and Calibrate
Perform test cuts on scrap metal, adjusting power, speed, and focus until achieving clean edges.
---
Why Choose Roclaser for Your DIY Fiber Laser Cutting Head?
At Roclaser, we provide
✅ High-Quality Laser Modules – Reliable power output for consistent performance.
✅ Precision Optics – Durable lenses for sharp, distortion-free cuts.
✅ Easy-to-Integrate CNC Systems – Smooth operation with minimal setup.
✅ Expert Support – Technical guidance for DIY builders.
Whether you're a hobbyist or a small business, Roclaser’s components ensure professional-grade results.
---
Päätelmä
Building a DIY fiber laser cutting head is a rewarding project that combines engineering and creativity. By using Roclaser’s premium parts, you can achieve industrial-grade cutting precision at a fraction of the cost.
Ready to start your project? Visit Roclaser today for the best fiber laser cutting components and expert advice!
---
Sanojen määrä 520
This article provides a detailed yet accessible guide for DIY enthusiasts while promoting Roclaser’s superior components. Let me know if you'd like any modifications!
Riippumatta siitä, tarvitsetko yleistä neuvontaa tai erityistä tukea, autamme mielellämme.


Osoite: Roctech Plant, S.W Mingjia Dong Rd.And Qifa Ev. Qihe, Shandong, PR Kiina


© Tekijänoikeus 2025 ROCLAS LASER. Kaikki oikeudet pidätetään.
Verkkosivuston käyttöehdot ● Tietosuojakäytäntö ● Evästekäytäntö


